How to Sew Lace Fabric: Prevent Puckering, Stretching & Snagging
Nov 16,2026 | LaceFabricShop
Why Does Lace Fabric Pucker, Stretch or Snag During Sewing?
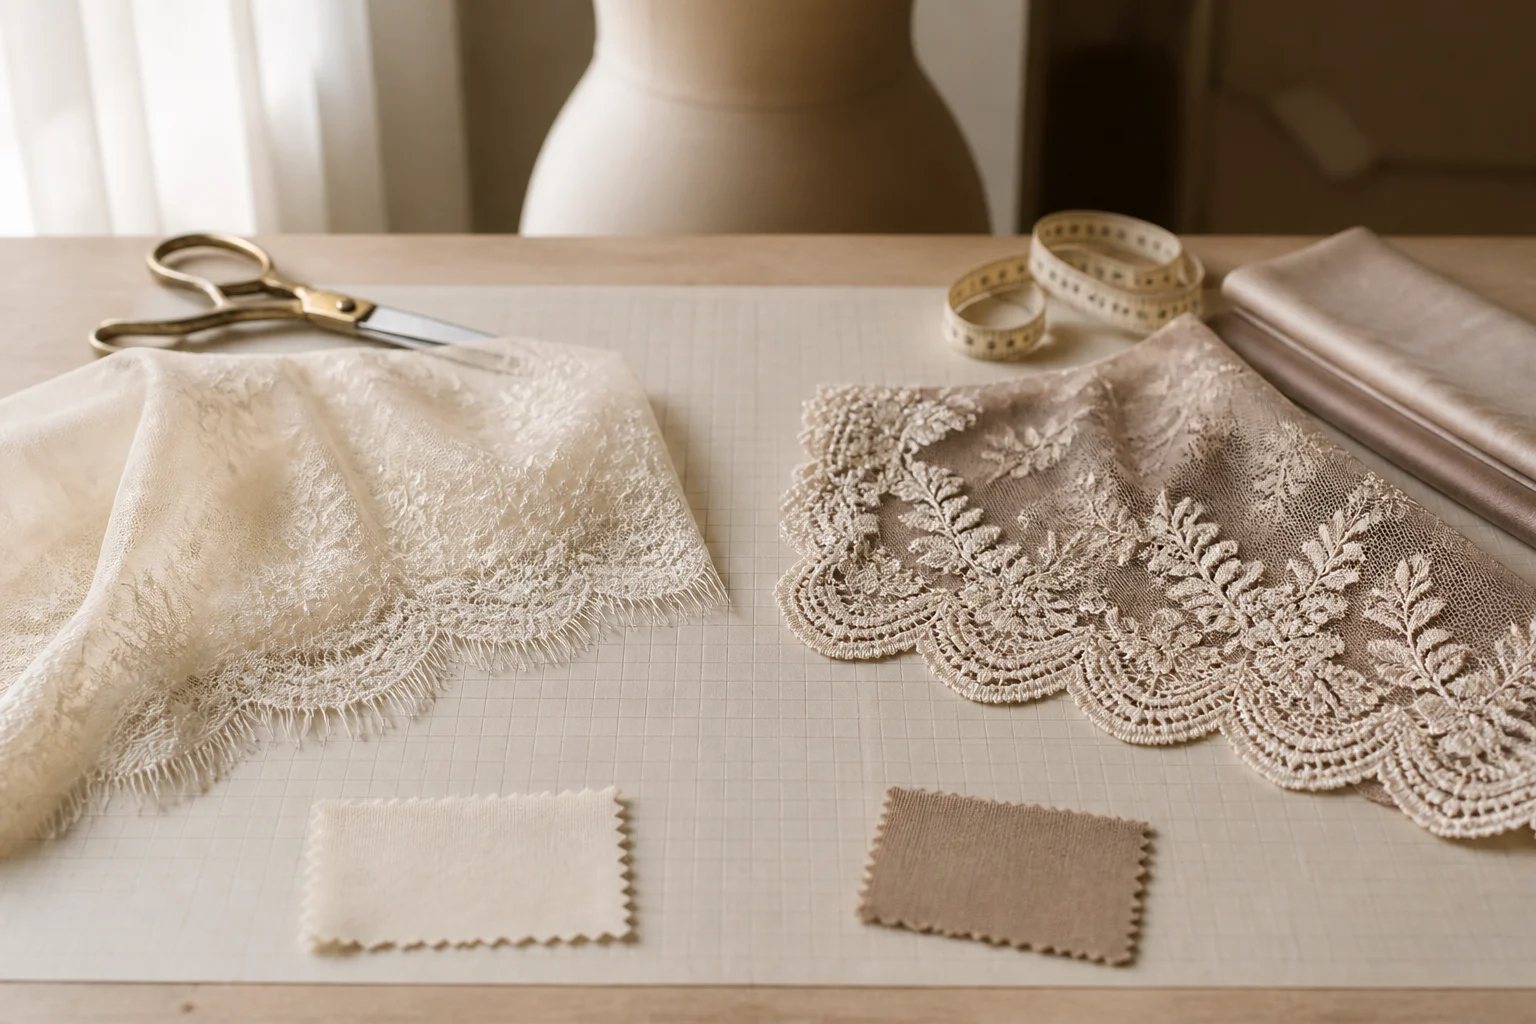
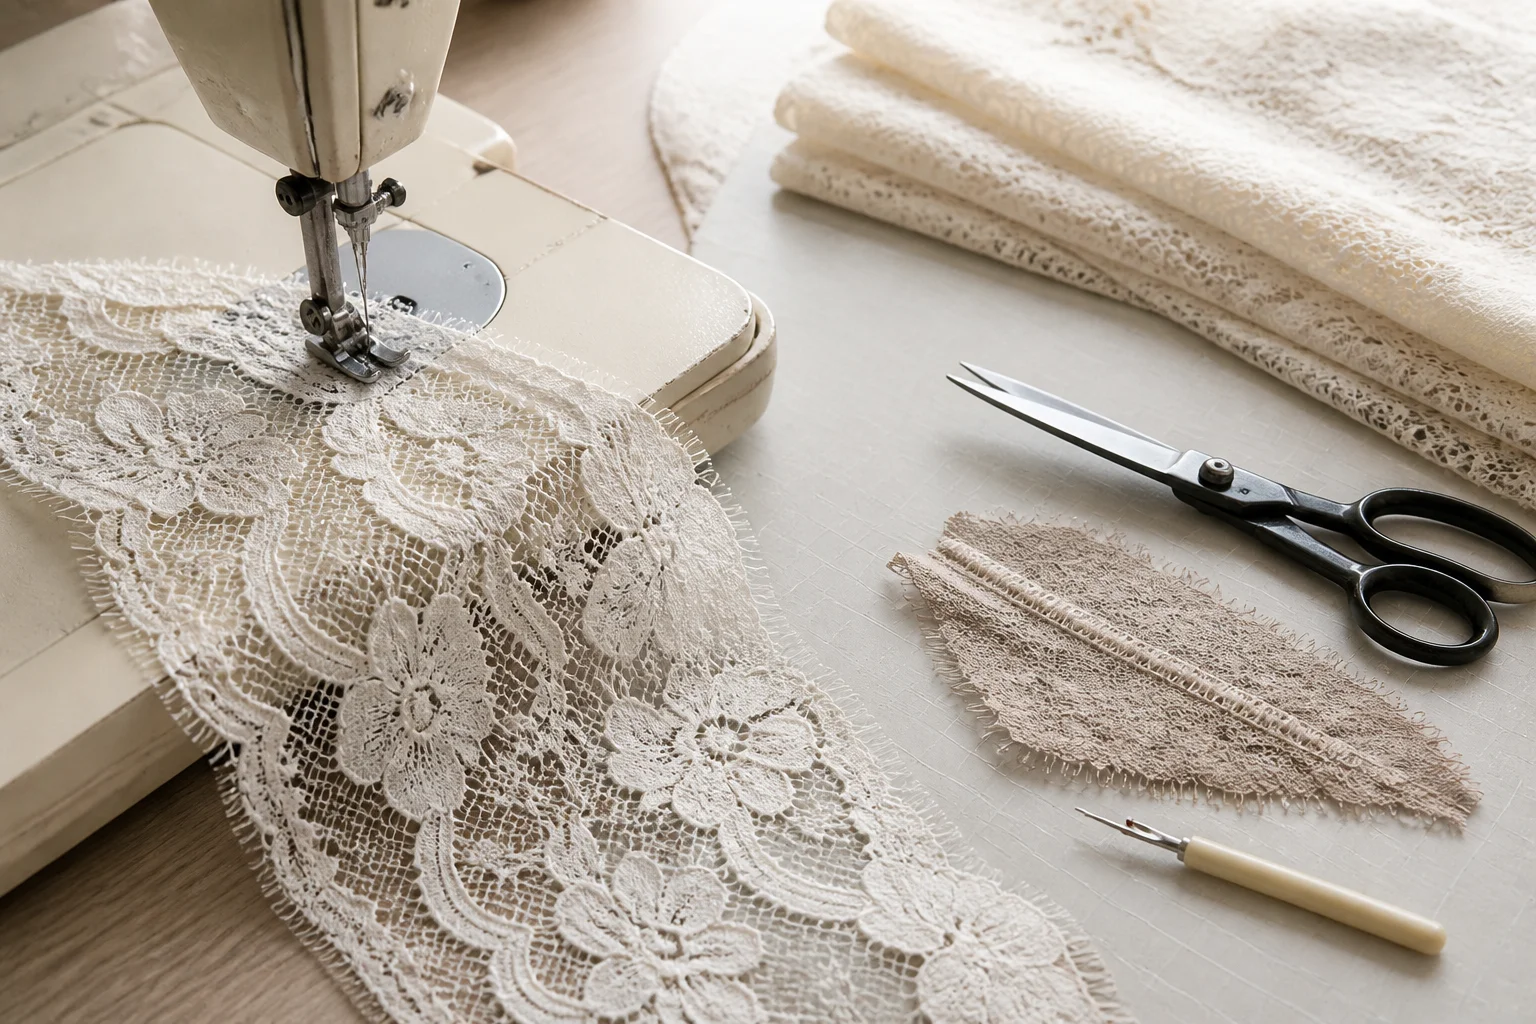
Lace fabric can be difficult to sew because its open structure does not always behave like a stable woven cloth. Motifs may shift under the presser foot, narrow areas can stretch as the needle enters, and an ornate surface can catch on the needle plate, feed dogs or presser foot. Puckering often comes from uneven feeding or thread tension; stretching can happen when the fabric is pulled during stitching; snagging can occur when a needle, tool or rough machine surface catches a loop or decorative thread.
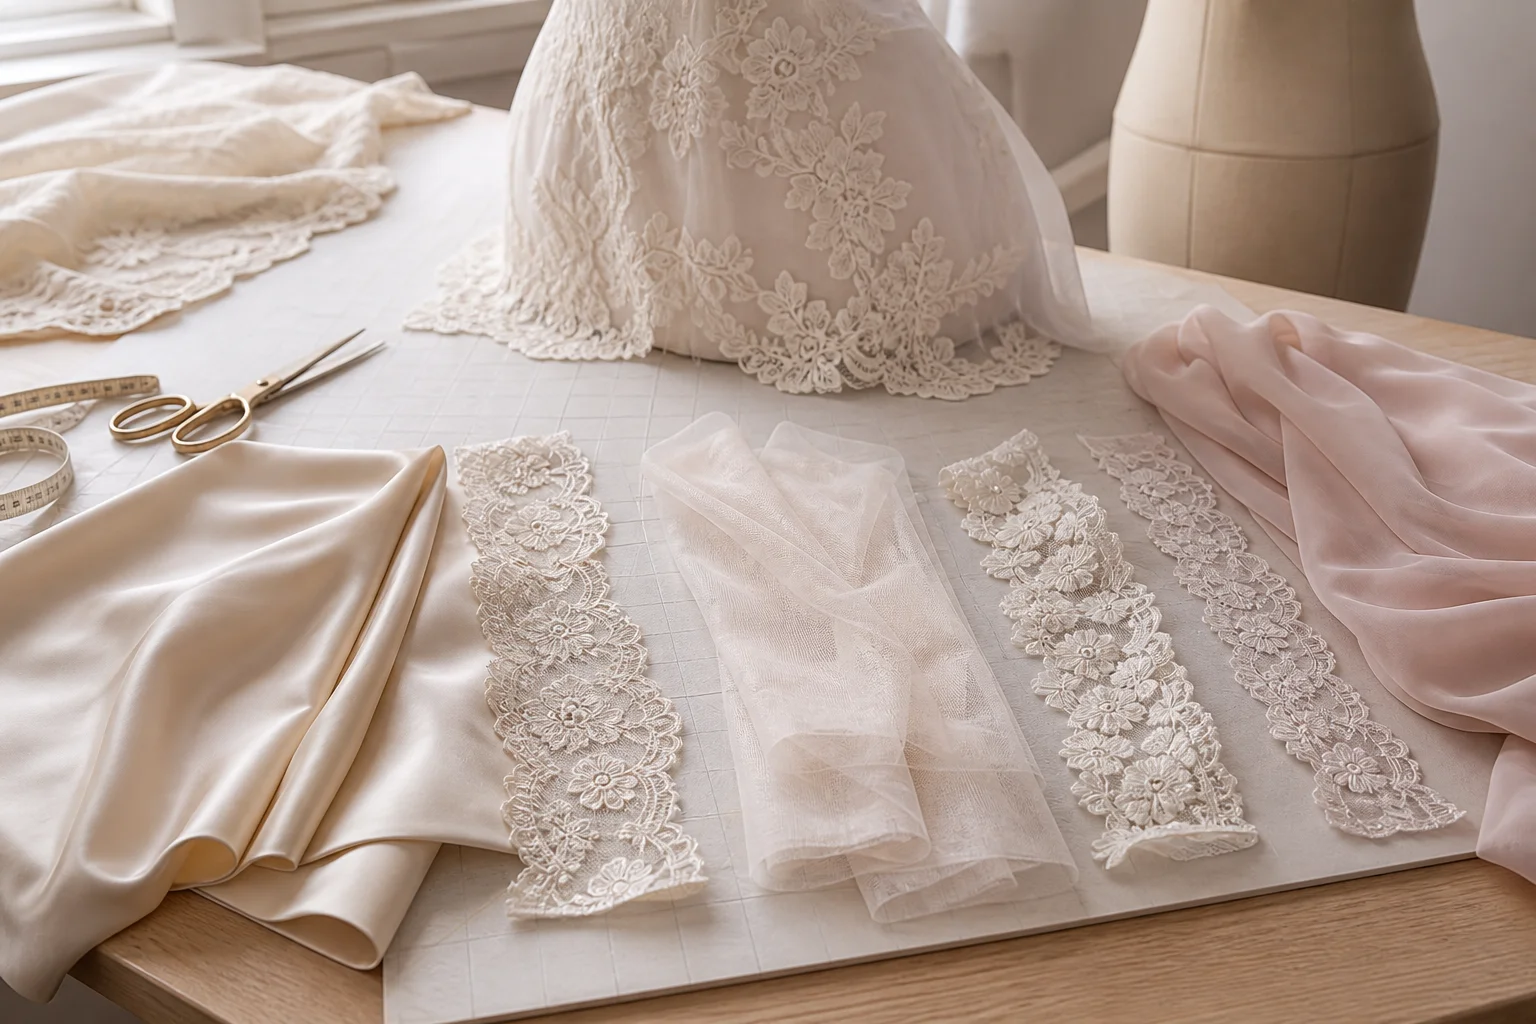
The safest approach to sewing lace fabric is not to force one technique onto every design. First identify whether the lace is light, soft, elastic, sequined, embroidered, open or visually structured. Then test the needle, thread, stitch, presser-foot pressure and stabilizing method on scraps from the actual fabric. A short test seam can prevent a damaged motif, an uneven edge or an entire garment section that must be recut.
1. How Should You Prepare Lace Fabric Before Sewing?
Preparation begins before the first stitch. Keep the lace supported on a clean, flat surface and avoid pulling it across the table. If the fabric is narrow, slippery or very open, place tissue paper or another removable support beneath it during marking and early handling. The support reduces drag and helps the fabric reach the machine in the same shape in which it was cut.
- Read the product information: Check the current product page for recorded width, roll length, color options and any Stretch or Elasticity information. Do not infer fiber or material from a photograph.
- Inspect the repeat: Identify the motif direction, border, scallop, eyelash edge or decorative line before placing pattern pieces.
- Make a test square: Cut a piece large enough to test a seam, an edge finish and the direction of the fabric.
- Mark lightly: Use removable tailor’s tacks, fine chalk or a method that will not damage open holes or decorative threads.
- Keep pieces flat: Store cut sections flat or supported. Hanging a soft lace piece can allow its shape to change before sewing.
Do not assume that a lace marketed for bridal or couture work can be handled aggressively. Product category and appearance do not replace a hands-on test.
2. Which Needle and Thread Are Suitable for Sewing Lace?
Needle choice should follow the lace structure, not just the garment category. A fine, sharp needle may pass through a delicate open area with less disturbance, while a stronger or differently shaped needle may be needed for a denser embroidered surface. If the lace includes sequins or raised details, the needle must pass through an appropriate gap rather than striking a hard embellishment.
Begin with a new needle. A blunt or damaged needle can push loops aside, split delicate threads or create skipped stitches. Test the smallest practical needle that forms a consistent stitch on the actual sample. If the needle is too fine for a dense section, the machine may struggle; if it is too large for a fragile section, it may leave visible holes.
Choose thread for compatibility with the garment and the tested fabric. A fine thread may keep a delicate seam visually quiet, while a stronger thread may be useful where the seam carries more load. The correct choice depends on the lace, seam construction and the finish you want. Avoid treating one thread type as a universal answer.
For products with recorded details, use the exact record rather than guessing. For example, LaceFabricShop lists Stretch Tulle Fabric for Wedding Dresses Width 150cm TF0121 with White 100x150 cm and Black 100x150 cm variants. Its product description records the Material field as Not Specified, so this article does not assign a fiber composition to it. Its title and current options are useful for identifying the product, not for making broader claims about all stretch lace or tulle.
3. What Stitch Length Helps Prevent Puckering?
Stitch length is a balance between secure joining and avoiding unnecessary perforation. Very short stitches place more needle penetrations close together and can make a delicate section look tight. Very long stitches may fail to control an open or shifting edge. Start with a moderate setting on a scrap and adjust while watching the fabric behind the presser foot.
To reduce puckering, allow the machine to feed the lace rather than pulling it from behind. Check the upper thread tension and bobbin area if the seam gathers. If the seam still ripples, test a slightly different stitch length, a lighter thread, reduced presser-foot pressure or temporary tissue support. Change one variable at a time so you can identify what solved the problem.
For seams that need movement, a narrow zigzag or another suitable stretch-capable stitch may be considered, but only after testing the actual lace. A straight stitch can be appropriate for a stable lace seam or a non-stretch application; it is not automatically correct for every fabric. The stitch should match both the fabric’s movement and the garment’s construction.
4. How Can You Sew Lightweight or Soft Lace Without Stretching It?
Soft lace can lengthen as it passes over the feed dogs, especially if the operator lifts, pulls or supports it unevenly. A practical method is to keep the fabric relaxed, align the seam with temporary pins or hand basting, and let the machine move the layers at a steady pace. For a curved neckline or armhole, use enough control to maintain alignment without stretching the curve flat.
Tissue paper, wash-away stabilizer or another removable support can help in a test situation when the lace is too open or slippery for clean feeding. The best support depends on the lace and the garment. Check that it can be removed without pulling the open structure or leaving residue. Do not use a stabilizer simply because it worked on a different lace.
When a lace has recorded stretch, keep the amount of extension intentional. Do not stretch the fabric while joining unless the pattern and seam require it. When Stretch or Elasticity is not clearly recorded, treat it as unconfirmed. A product title, photograph or category is not enough evidence to describe a specific item as stretch or non-stretch.
5. How Do You Avoid Snagging and Damaging Lace Motifs?
Snagging often begins with a rough contact point. Inspect the needle plate, presser foot, thread path and table edge. Remove lint and check for burrs before sewing. Keep scissors, pins and tools away from the lace surface when they are not in use. If a raised motif catches, stop the machine instead of pulling the fabric free.
Use pins sparingly and place them inside seam allowances or in stable open spaces where possible. Fine hand basting can be safer for visible motif placement than repeated pinning. When cutting around an ornate design, separate layers with care and avoid dragging the fabric over a sharp corner.
Sequined or heavily decorated lace requires additional planning. Sew around hard embellishments rather than forcing a needle through them. If the seam line crosses a dense area, test whether the machine can pass safely or whether the construction should be changed. LaceFabricShop currently lists Sequins Sparkling Tulle Fabric Width 150cm TF0120 with Pink, Blue and Yellow 50x150 cm variants. Those variant details identify the listed options; they do not prove a universal sewing method for every sequined tulle.
6. How Should Lace Seams Be Joined?
Seam construction depends on whether the join should disappear, become part of the design or support a high-stress area. For an invisible-looking join, align motifs and place the seam where the pattern gives you visual cover. For a visible decorative join, match the repeat deliberately and keep the seam allowance consistent.
Use the motif, not just the cut edge
When joining two lace panels, compare flowers, vines, open spaces or embroidered lines before trimming the seam. The straight cut edge may not be the best visual reference. Place both pieces on a flat surface, overlap them as planned and mark the point at which the motifs align.
Stabilize only where needed
A narrow support under a seam can prevent an open lace from collapsing while it is stitched, but excessive support may make the seam stiff. Test the removal process and inspect the garment from both sides. If the lace is transparent, the stabilizer, thread or seam allowance may remain visible and affect the design.
Handle seam allowances carefully
Trim only after confirming that the seam is stable. A very narrow allowance may fray or open; a wide allowance may show through a sheer layer. Finish the edge according to the fabric and the garment rather than applying one finish to every lace.
7. How Do You Sew Lace Edges, Borders and Scallops?
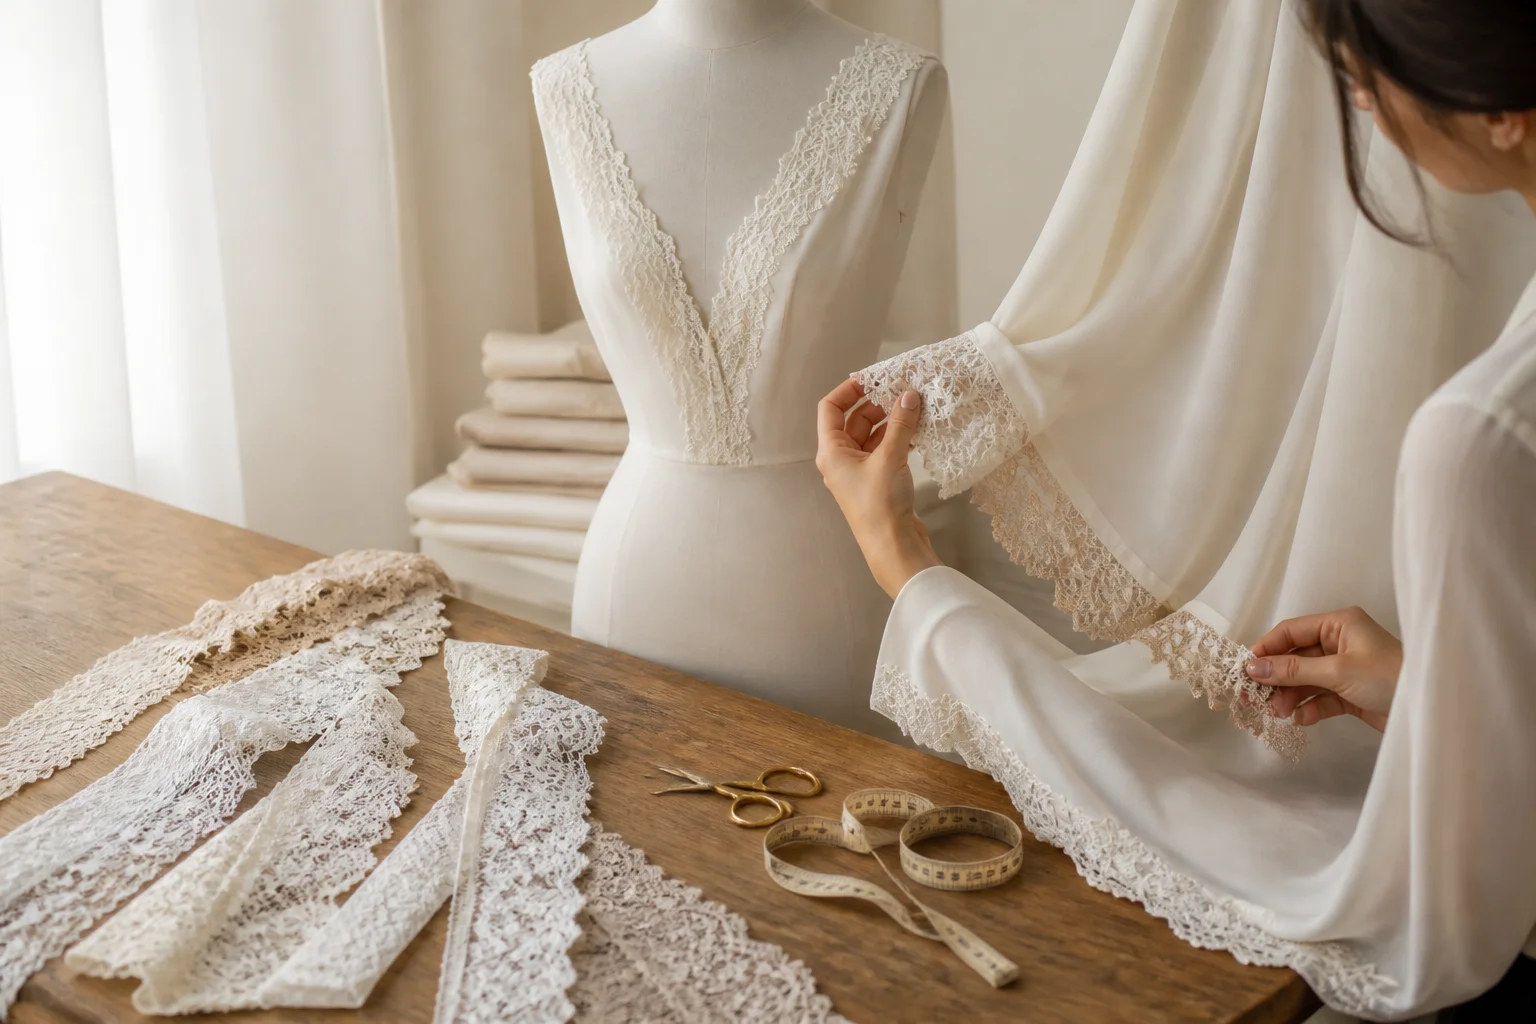
Decorative edges need to be protected during cutting and stitching. If the lace has an eyelash, scalloped or embroidered border, decide whether the edge will remain visible, be enclosed in a seam or be layered over another fabric. Mark the intended finished line before trimming so the border does not disappear into the seam allowance.
For a visible border, keep the edge supported while stitching and avoid compressing raised details under a heavy foot. For a concealed edge, check that the seam encloses enough structure to remain secure after pressing and wearing. Pressing must be gentle: use the temperature and protection that the tested lace can tolerate, and avoid crushing dimensional details.
The active record for 3D Floral Lace Fabric for Diy & Decor Width 150cm TF0122 identifies a 150 cm lace fabric with White 50x160 cm and Dark Pink 50x150 cm listed variants. Its product record does not specify Material, so the useful sewing lesson is to test how its dimensional floral surface behaves under the presser foot rather than assigning a fiber or stiffness that is not recorded.
8. What Changes When Lace Includes Sequins or Dense Embroidery?
Surface decoration changes the path of the needle, the pressure under the foot and the way the garment can be pressed. Dense embroidery may create thicker areas that feed differently from open areas. Sequins may catch, crack or deflect the needle. Raised flowers may be flattened by a narrow seam or damaged by an overly hot iron.
Before construction, make a test that includes the most complicated area, not only an empty section of net or ground. Check the front and back of the seam, the movement of the layers and whether the thread remains balanced. If the machine cannot cross a dense area cleanly, consider repositioning the seam, removing selected embellishments only when appropriate, or using a different joining method.
For a bridal or evening project, the sample should also test how the finished seam looks under the intended lining or underlayer. A seam that seems acceptable on the worktable may become obvious when light passes through the garment.
9. How Can You Avoid Common Lace Sewing Mistakes?
- Pulling the fabric: Let the feed system move the layers. Pulling can create a stretched seam that relaxes into ripples later.
- Skipping the test: A machine setting that worked on cotton or another lace may fail on this lace.
- Using damaged tools: Replace blunt needles and check the needle plate, foot and thread path for snags.
- Ignoring motif direction: Mark the top, bottom and repeat before cutting so panels are not rotated accidentally.
- Over-stabilizing: Support only the areas that need control. A stiff support can change the drape and transparency.
- Pressing too aggressively: Protect open, raised or sequined areas and test heat on scraps.
- Assuming specifications: Verify the exact product record for Width, Stretch, Material, Fiber, Color and Roll Length.
These mistakes are avoidable when the first sample is treated as part of the sewing process rather than as wasted fabric.
10. How Should You Test Lace Before Cutting the Garment?
Use a test plan that reflects the final garment. If you will sew a neckline, test a curve. If you will join a skirt panel, test a longer seam and a motif repeat. If the garment is lined, place the lace over the intended lining or underlayer. If the design includes stretch, test movement and recovery rather than only a flat seam.
- Cut two scraps with the same grain or motif direction as the garment.
- Mark the seam line and any matching points.
- Test the chosen needle, thread, stitch and presser-foot setting.
- Inspect for puckering, skipped stitches, stretching, snagging and visible holes.
- Wash, press or handle the sample in the way the finished garment will be treated.
- Record the settings that worked and repeat the test if the lace section changes.
A test is successful when the seam remains stable after handling and the edge still looks intentional. Do not rely on the first few centimeters if the full project includes a dense motif, a curve or a change in lace direction.
11. Which Lace Sewing Approach Fits Different Fabric Structures?
| Lace situation | Main risk | Practical starting point |
|---|---|---|
| Light or open lace | Shifting, snagging or visible perforations | New fine needle, gentle feeding and a removable support test |
| Soft or draping lace | Stretching along seams and curves | Relaxed handling, temporary basting and stitch-length testing |
| Elastic lace or lace used on a moving area | Restricted movement or rippled recovery | Verify exact Stretch or Elasticity and test a movement seam |
| Sequined or dense embroidered lace | Needle impact, bulky joins or pressing damage | Test the densest area and plan the seam around embellishment |
| Dimensional floral or textured lace | Flattened motifs and uneven pressure | Use a controlled foot pressure and protect raised details while pressing |
This table is a starting framework, not a set of universal rules. The exact lace, machine and garment construction determine the final setting.
12. When Should You Order a Lace Fabric Sample?
Order or cut a sample before production when the lace is unfamiliar, the garment is fitted, the seam will be visible, the fabric contains sequins or raised embroidery, or the color and transparency must match an existing material. Sampling is also sensible when you are combining lace with stretch fabric, a lining or a delicate underlayer.
Use the sample to test more than stitch formation. Check the edge, the motif alignment, the drape, the amount of show-through, the pressing response and the appearance after handling. A small sample can reveal whether the lace is suitable for the intended sewing application without committing the whole garment.
Final Lace Sewing Checklist
- Have you identified whether the lace is light, open, soft, elastic, sequined or structurally dense?
- Have you checked the exact product record instead of guessing Material, Fiber or Stretch?
- Is the needle new and appropriate for the tested structure?
- Does the thread form a balanced stitch without gathering?
- Are you letting the machine feed the fabric instead of pulling it?
- Have you tested a seam, curve, edge and motif match on scraps?
- Are the needle plate, presser foot and tools free from snagging points?
- Will the seam survive the garment’s planned pressing, lining and movement?
Conclusion: Sew the Test Before You Sew the Garment
Successful lace fabric sewing comes from controlled handling rather than a single magic needle or stitch. Identify the structure, test the machine settings, support the fabric only when needed and protect the motifs from pulling and snagging. Pay special attention to seams, edges, curves and areas with sequins or dimensional embroidery.
When you are choosing a lace for a new garment, review the exact product record and compare the fabric with your construction plan. LaceFabricShop’s current fabric selection includes options such as Floral Sequin Chantilly Lace for Wedding Dresses Width 150 cm CHL0139 alongside the other sewing-oriented fabrics linked above. Each product should be tested on its own terms. A careful sample is the shortest route to a clean seam, an undamaged motif and a professional finished garment.
🌟 Exclusive Designer Access:
Stop wasting time hunting for the perfect lace. Explore our curated 2026 Bridal Trends and experience premium quality starting from just 0.5 meters.
Comment