Easy and Quick Tips: How to pick up stitches for a collar for dress?
Dec 13,2023 | Lace Fabric Shop

I. Introduction
Collars are an essential component of a dress, adding style and character to any garment. However, for beginners, sewing a collar can be a daunting task. But fret not! With some handy tips and a little guidance, you can easily master the art of picking up stitches for a collar and achieve professional-looking results in no time.
II. Understanding the Basics
Before diving into the process, it's essential to understand how collars are sewn onto dresses. There are various collar styles to choose from, including Peter Pan, Mandarin, and notched collars. Each collar has its unique construction and sewing technique that contributes to its final appearance.
III. Preparing for Success
To ensure a successful collar attachment, gather the necessary materials and tools beforehand. You'll need fabric suitable for the collar, thread that matches your dress, scissors, marking tools, pins, and a sewing machine or needle.
When selecting fabric for your collar, opt for a lightweight material that complements the dress's overall design. It should be easy to handle, with enough body to hold the collar's shape.
Before attaching the collar, make sure the dress is properly prepared. Double-check that the neckline is finished, and any facings or interfacings are in place.
IV. Step-by-Step Tutorial
A. Marking and Pinning
1. Using marking tools, carefully mark the collar's placement on the dress. It's crucial to be accurate to ensure a well-aligned collar.
2. Once marked, pin the collar to the dress, making sure it is evenly distributed and the edges match the dress's neckline.
B. Picking Up Stitches
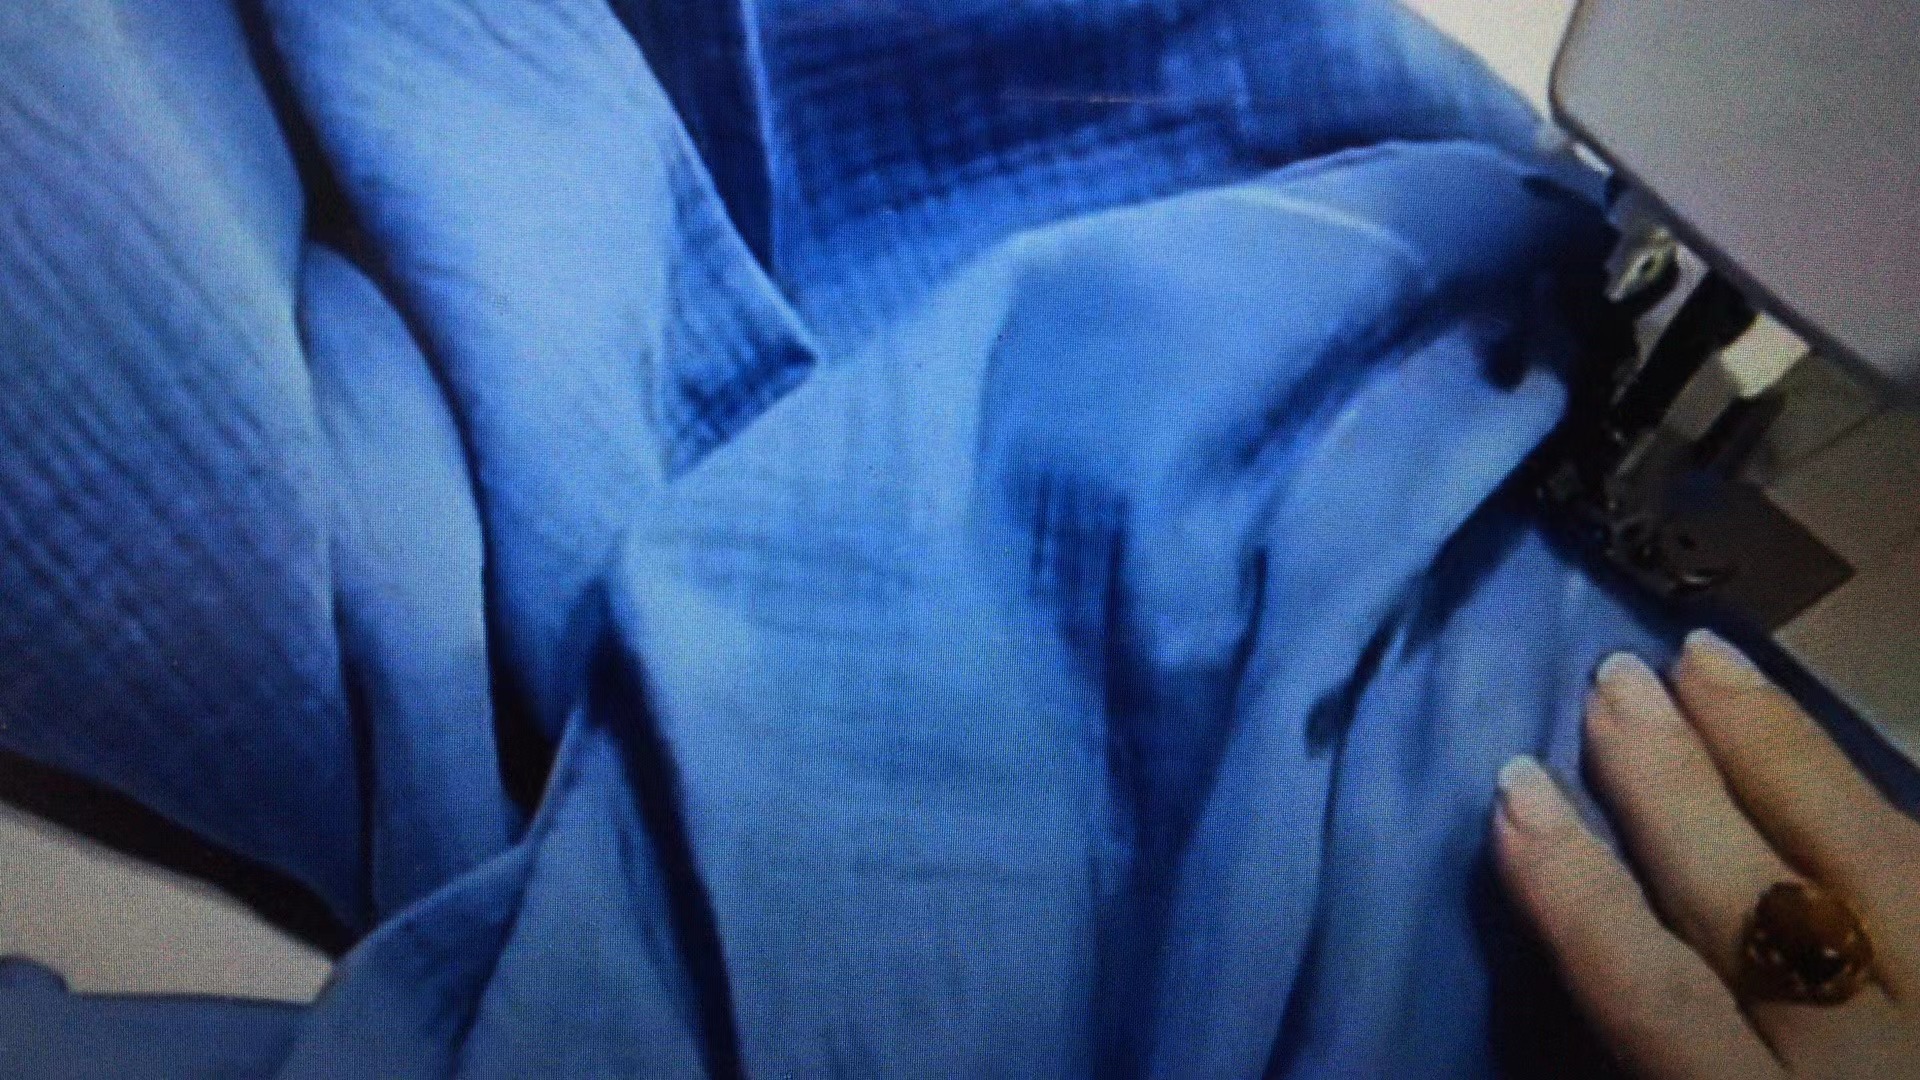
1. With the collar pinned in place, it's time to pick up stitches along the neckline. Starting at the center back, insert the needle or sewing machine into the fabric, slightly beyond the marked stitch line.
2. Work your way around the neckline, picking up small stitches or using a zigzag stitch to secure the collar. Maintain even spacing between stitches for a smooth result.
C. Sewing the Collar
1. With the stitches in place, begin sewing the collar onto the dress. Use an appropriate stitch, such as a straight stitch or a topstitch, depending on the desired finish.
2. Take your time and sew slowly, carefully aligning the edges of the collar with the dress to ensure a neat and professional-looking attachment.
V. Finishing Touches
1. After sewing, trim any excess fabric from the collar edges, making sure to leave a small seam allowance for durability.
2. Press the collar with an iron to give it a crisp appearance and help it settle into place.
VI. Troubleshooting and Tips
1. If you encounter any difficulties while sewing the collar, such as fabric puckering or misalignment, don't panic! Adjust your technique, check your tension, and take your time to get it right.
2. It's always a good idea to practice on scrap fabric before sewing the collar onto your dress. This allows you to familiarize yourself with the technique and make any necessary adjustments.
VII. Conclusion
By following these easy and quick tips, you can now confidently pick up stitches for a collar and seamlessly sew it onto your dress. Remember, practice makes perfect, so don't be discouraged if it takes a few attempts to master this skill. With time and patience, you'll soon be creating stunning dresses with perfectly sewn collars that elevate your overall style. Happy sewing!
![[object Object]](https://img-va.myshopline.com/image/store/2000678933/1663746048441/39b6b7c932914f9586953fa6dbb3e95c.png?w=1694&h=200)


