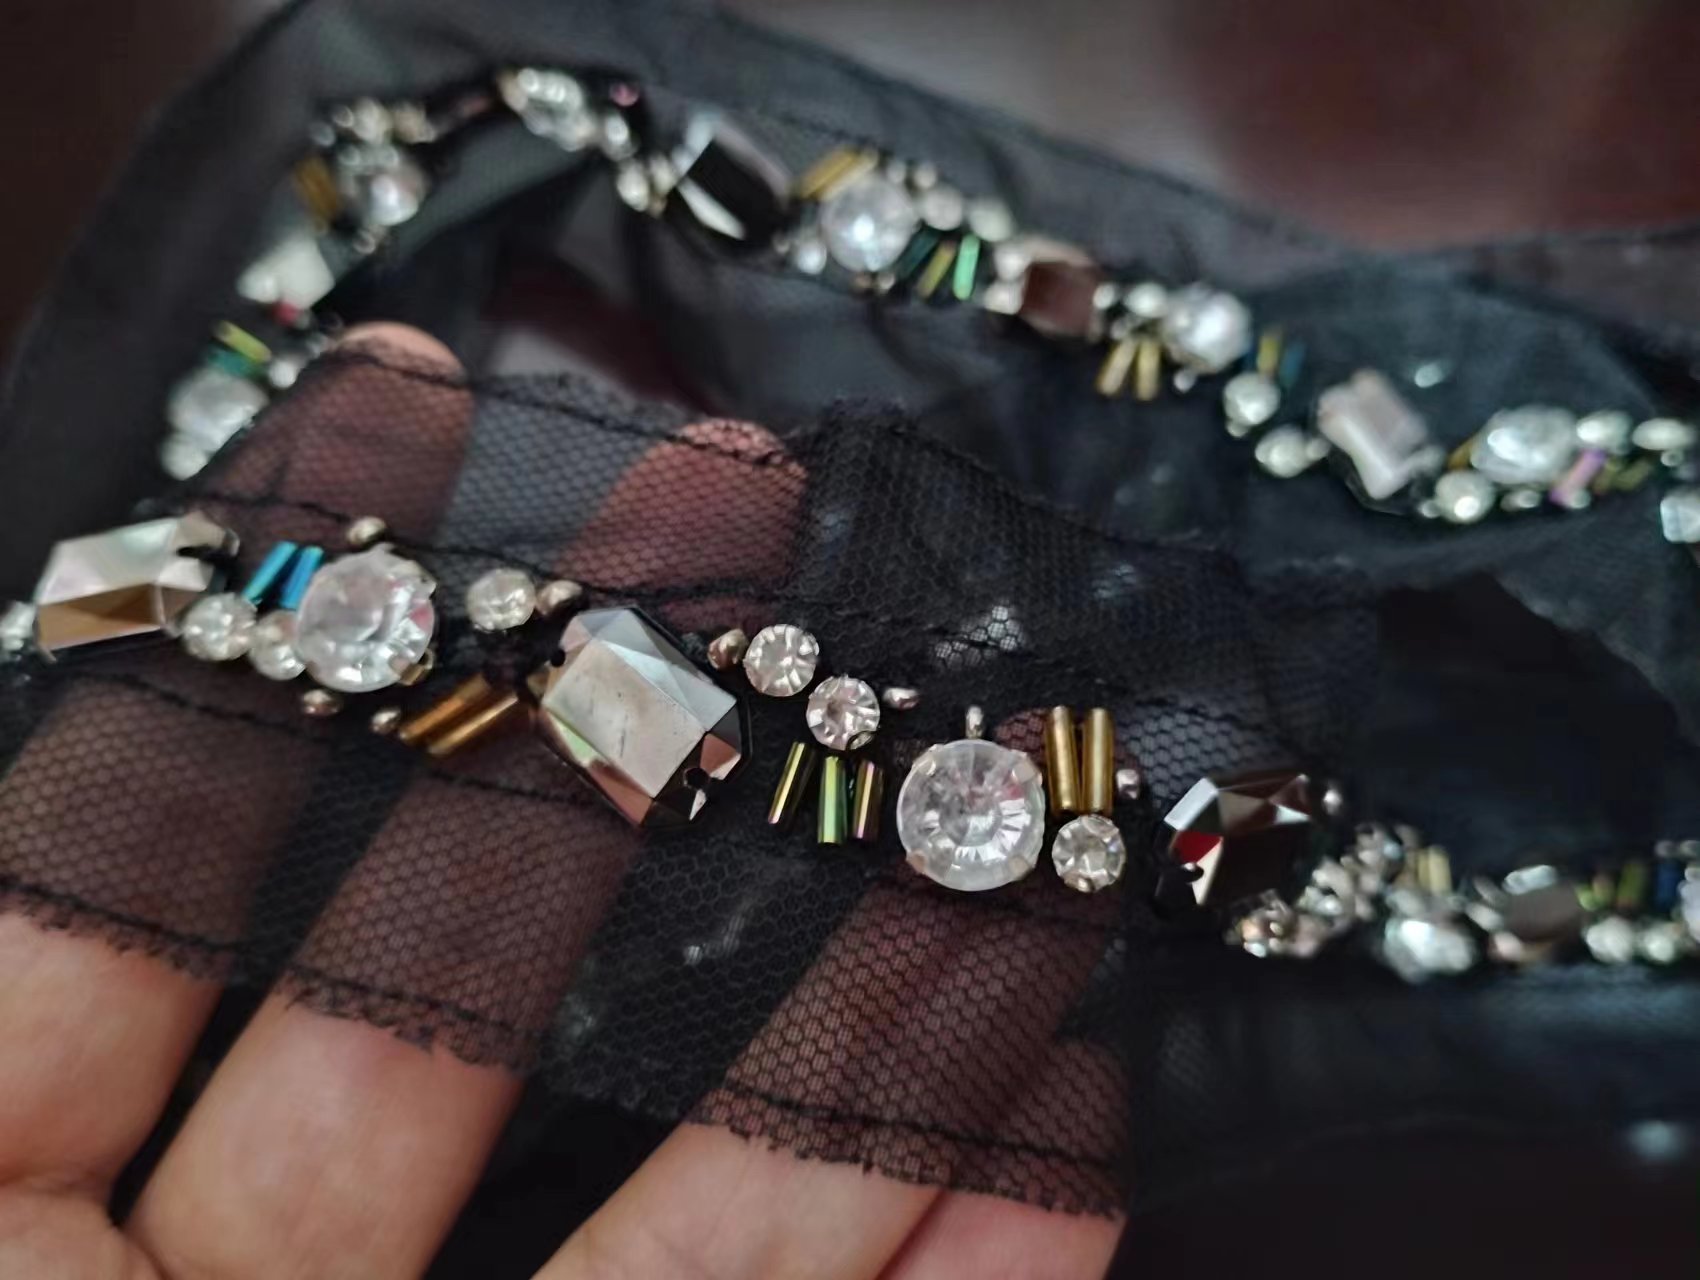
How can I easy to add lace trim to the neckline of a garment?
Dec 22,2023 | Lace Fabric Shop

Title: How to Effortlessly Add Lace Trim to the Neckline of Your Garment
Introduction:
When it comes to adding a touch of elegance and femininity to your garments, lace trim is the perfect choice. Whether you want to update an old dress or revamp a plain top, adding lace trim to the neckline can instantly transform your outfit. The best part? It's easier than you might think. In this guide, we will walk you through the simple steps to add lace trim to the neckline of your garment. With the right tools and techniques, you'll achieve a professional-looking result in no time.
I. Gathering the Required Materials
Before you begin, gather the necessary materials to complete this project. You will need:
- Lace trim: Choose a lace trim that matches your garment in terms of color, width, and style.
- Sewing machine or needle and thread: Depending on your preference and the fabric of your garment, decide whether to use a sewing machine or hand-stitch the lace trim.
- Thread: Select a thread that matches the color of both your fabric and lace trim.
- Scissors: Ensure you have a sharp pair of scissors for cutting the lace trim.
- Pins: Use pins to hold the lace trim in place during the sewing process.
II. Preparing the Garment
1. Wash and Iron: It's important to wash and iron your garment before adding lace trim. This step will help ensure a clean and wrinkle-free base.
2. Measure the Neckline: Measure the length of your neckline and determine the length of lace trim needed. Remember to consider any seam allowance you prefer.
III. Sewing Techniques
1. Positioning and Pinning the Lace Trim
- Start at the center: Place the center of the lace trim at the center of the back of your garment.
- Pin the trim: Starting from the center, carefully pin the lace trim along the neckline, ensuring it lays flat and follows the shape of the neckline.
2. Sewing the Lace Trim
- Machine stitching: If using a sewing machine, secure the lace trim by using a straight stitch or a zigzag stitch, depending on the desired look.
- Hand-stitching: If hand-stitching, use a whipstitch or slipstitch to secure the lace trim to the fabric, making sure that your stitches are small and discreet.
IV. Finishing Touches
Once the lace trim is sewn in place, it's time for the finishing touches:
1. Trim any excess lace trim carefully, ensuring the edges are neat and clean.
2. Evaluate the overall appearance of the neckline and make any necessary adjustments to the stitching or positioning of the lace trim.
3. Consider adding additional decorative elements, such as tiny bows or buttons, to further enhance the look.
V. Ensuring a Centered Seam at the Back
To maintain a balanced and polished look, it's essential to place the lace trim seam at the center of the back. Take the time to align and secure the seam correctly, ensuring it stays in place and doesn't shift during wear.
VI. Final Steps and Additional Tips
1. Check the integrity of the seams, making sure they are secure and durable.
2. Consider using a thread color that matches the lace trim for an invisible finish, or experiment with contrasting colors for a bolder look.
3. Take your time and practice on scrap fabric before attempting to add lace trim to your desired garment.
By following these simple steps, you can easily add lace trim to the neckline of any garment. Whether you're a seasoned sewist or a beginner, this project is a great way to enhance your wardrobe and add a touch of delicate charm. So, go ahead, unleash your creativity, and enjoy the process of transforming your garments with lace trim.
![[object Object]](https://img-va.myshopline.com/image/store/2000678933/1663746048441/39b6b7c932914f9586953fa6dbb3e95c.png?w=1694&h=200)


